
Hello to all my lovely readers! I'm finally back with a tutorial for you. I have been so totally slack the last couple of months and have neglected this blog (and my Cricut Lovers Guide to Design Studio blog) for too long!
Anyway, on to the tutorial.... (don't run away just because I'm talking about the Imagine. There's something here for everyone no matter which Cricut they have!)

You may have seen that there are now single images available to purchase for use in CCR. There's lots to choose from. Some of them however, have been layered ready for printing and cutting as one image on the Imagine.
So far you'll find Imagine ready images from Cindy Loo, Create A Critter and the mascots from Team Spirit. There's lots of other single images available on CCR now, but most of them haven't had the layering done to automatically print and cut on the Imagine.
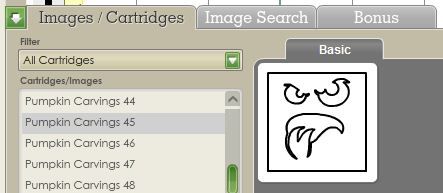
To tell if an image is "Imagine Ready" look at the CCR keypad. If the image preview appears in colour then it can be printed and cut on the Imagine. You'll notice it also has a tab titled Layered Images. That's a pretty big clue too! :)

If the preview appears in black and white then it won't be ready to print on the Imagine until you fill it with a colour or pattern from one of the Imagine carts.
So what do you need to do to print and cut the coloured single images? If you have an Imagine, simply place the image on your CCR mat, resize it if necessary and send it off to your Imagine. It will be printed and cut as one image. (Meaning that the layers won't be separated into separate objects.)
But what if you want to have some dimension for your image and cut each layer separately? No problem! Let's use Create A Critter -50 as an example.....
- First up, to cut that image you will need to purchase it from Cricut.com. Click on the Buy button below the image.
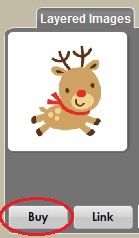
You will be taken to the Cricut.com shopping site where you can purchase that image (and any others you want to purchase.)
- Once your purchase is complete come back to CCR and log out. When you log back in the images you purchased will now appear in bold in the list of cartridges. They will also be added to your My Cartridges library.
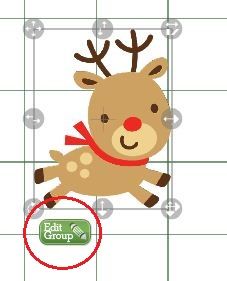
- Select the image from the library and either single click to add it to the mat, or drag it from the keypad to your mat. The first picture below is what the image will look like if the Imagine is selected as the Default Machine in the Machine & Mat menu.
The second picture is how the image will look if any other Cricut is selected as the default machine.

- With the image on your mat selected, press the Edit Group Button.
In the top right corner you will see the Combine/Separate boxes.

- Click the brown Separate button
The layers will be separated.
- Press the Exit button to return back to the main CCR screen.

The images are now ready for you to send to your Imagine to be printed and cut as individual objects.
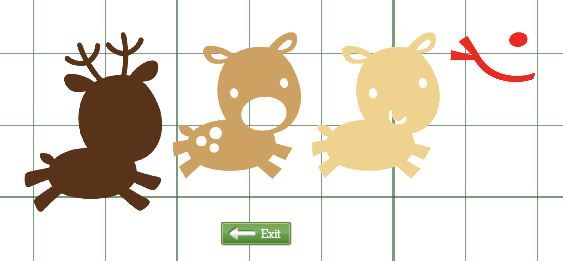
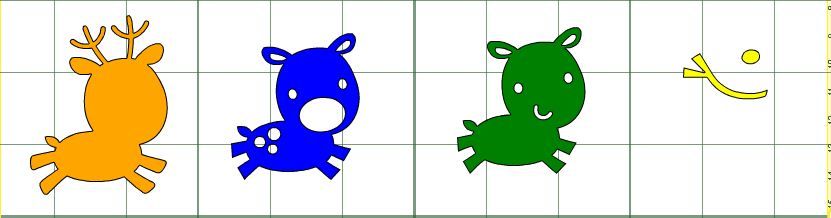
Be aware that each of the layers will have a light brown border around them as in the top row of images in the picture below.

If you don't want the border to print...
- Select the object on the mat and click the Ungroup button on the Toolbar.
When you cut them out they will look like the bottom row of images in the picture above. Notice that the mouth and some of the other feature lines didn't print.
Something to keep in mind.... For a good result, make sure you calibration is spot on!!
But "hang on" you say... "I don't have an Imagine!!!"
The good news is once you've separated and ungrouped these images you can cut them on all the other Cricuts with just a few more steps.
Because these are Imagine images CCR is looking for an Imagine when it goes to cut. When it sees that there's an E2 selected it doesn't cut. (Nothing happens when you click on the Cut button.)
So you just need to trick it into thinking you have an Imagine....
- From the Machine & Mat menu select the Cricut that you will actually be cutting from. This makes it easier if you are using the Personal, Create or Mini because you don't have to guess where to place your images.
- Separate your layers as shown in the tutorial above and press the Exit button to return to the mat.
- Click anywhere on the group of images to select them then press the Ungroup button on the top toolbar.
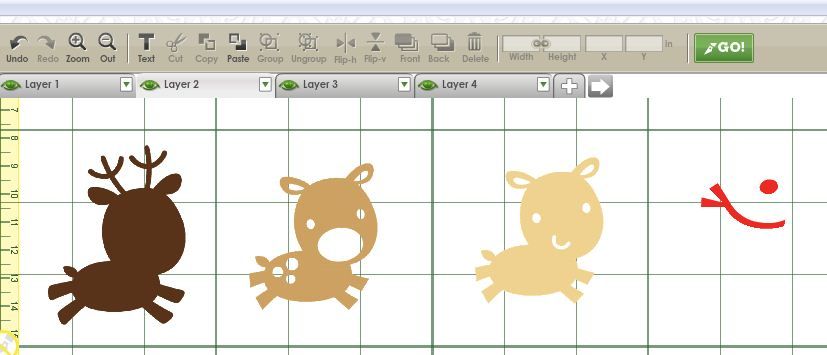
- Click anywhere on the mat to deselect the images. You can now move each separate piece around on the mat.
If you want to cut multiples of each layer you might want to create multiple mats at this stage and cut and paste each layer to its own mat. Then you can use the Autofill option to fill your mat or Image Quantity option to set how many of each shape you want. In the picture below you can see that I have used multiple mats as each layer is a different preview colour.
- Go to the Machine & Mat menu and select the Imagine as the default machine. (It doesn't matter that you don't have one....)

The images will change to the Imagine colours and the Cut button will change to a Go button.
- Make sure your Cricut is powered on and connected to your computer.
- Press the green Go button
Nothing will happen! (Other than the preview mat will change to the next mat if you have more than one. If that happened press the green arrow below the mat to go back to the first preview mat.)
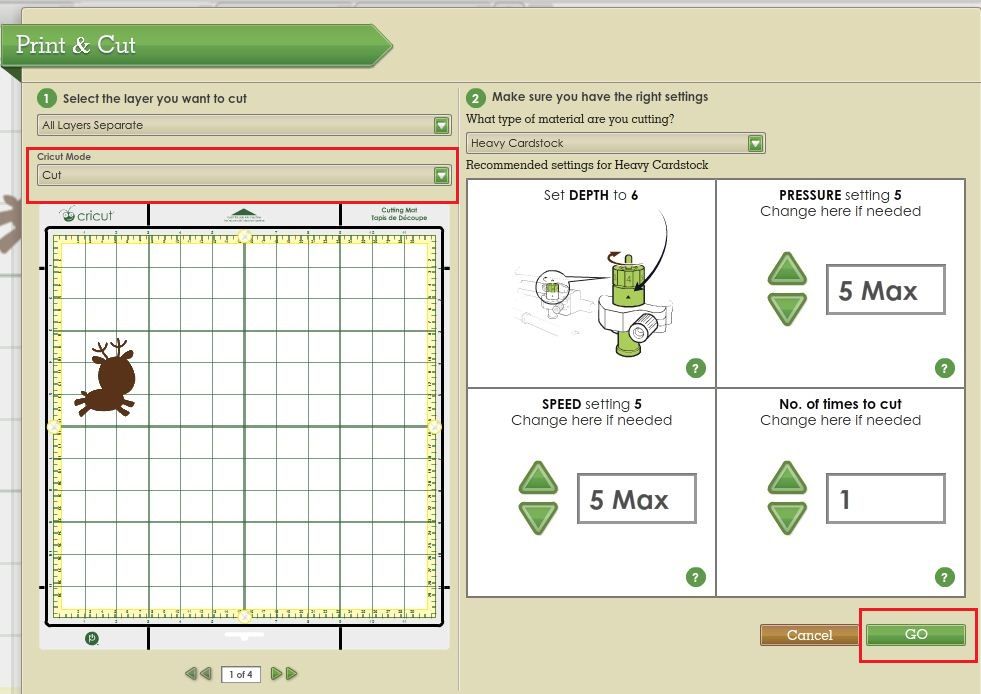
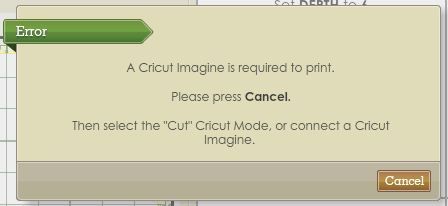
- From the Cricut Mode menu select Cut. If you forget to select Cut from this menu you'll get this error. If that's the case, press Cancel and go back and change the Cricut Mode to Cut.
- Then press the Go button
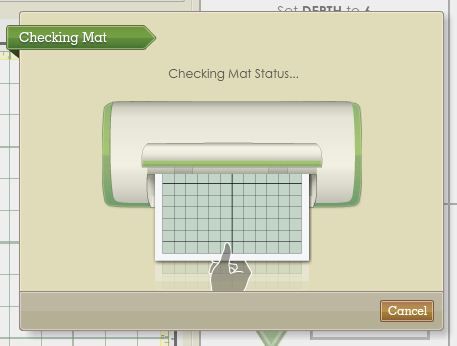
If you haven't loaded your mat when you press the Go button you'll then see this message:

- Load your mat and press Continue
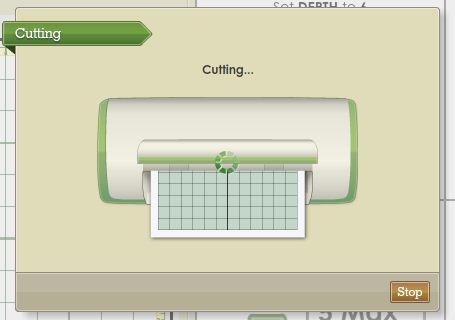
- Continue pressing the Go button until all your layers are cut swapping out your mats if necessary.)
I've tested this on my E2 and my Personal... and it works!!!
Let me know how it works for you!!!


9 comments:
Hi narelle, thanks for the tut. Got plenty off time on my hands this year so intend learning to use my imagine properly using the words of wisdom from a master!!!! ( that s you ). Happy 2013 to you and yours and all who read your blog. Sue.
Hi Narelle, thank you for sharing all of your great tips! What build of the CCR do you use? My Imagine wasn't cutting properly and I reverted back to an old build (132?) so it would work. Has PC finally gotten some of the bugs out and the newest build works? Thanks!
Hi Liz. I use Build 179. It pretty much fixed the cutting problem with the Imagine. It's still finicky on occasion, but then again, the old version was too.
If it plays up too much you can at least go back to 132 again! :)
I love and use both of your blogs.
I don't use CDS much anymore but still use it and so do other people. I still refer people to your blog when they need help.
Maybe you could join the blogs and have a section where you put your CDS info in. You could put a note there including the date you last updated the info, etc. Or you could simply put a link to your old blog.
I LOVE your font and cart lists.
I appreciate all of the hard work you put into both blogs. Thank you so much.
Do what you need to do. Time is precious.
D-
dmcardmaker (AOL)
Joining the two blogs is exactly what I'm doing! :)
In fact I've already started work on the new blog.
Thanks! :)
hi
I just bought a layered image and have been through your tutorial, thanks. However when I seperate my image the layers stay on the same layer , unlike your ones. Do I have to do this manualy. I have an expression.
Mine are on the same layer. They look like they're on different layers because I've got the Imagine selected so the different parts of the image are coloured differently. If I were to change to the Expression they would all show as one colour.
If you want the different layers to be on their own layer, then yes, you would need to cut and paste them manually.
I do mention that in the tutorial but it kind of gets lost amongst all the other info so I'll go change the colour of that text to green. :)
Hope that helps! :)
Narelle
Hi Narelle.
I know this is an old post, but I need to see if you can answer a question for me about layering. I bought/downloaded a single image for my cricut mini. I'm doing 2 different size owls and it has 4 layers. Well I first worked on the small owl. So what I did was put it on my mat, clicked on edit group, separated them, and deleted the layers I didnt need and kept the one I did and exited. My goal was to print 5 on one sheet, since each layer was going to be a different color. So that worked, and I did the same for the rest. So I decided to take a break, when I came back to do the bigger owls, its not working anymore. It only prints the last layer even if that layer is deleted and what shows up on the mat is the one I want, but when I go to cut, it cuts the last layer! I'm so stumped because it worked fine before and now i dont know what's going! Help! Please??? Its driving me crazy on why its not working.
I cannot thank you enough for this tutorial!!! My good friend is having her baby this June and her shower is in three weeks... We chose a digital image and could not get it printed for three weeks!!! I was getting desperate and thought I may have to cut the Owls by hand... Turned to google and found your blog! You have no idea how great fun and thankful I for you!!!!!!!! I got it done and she is so happy! Again, I thank you! Look forward to reading more of your blog!
Post a Comment