
Download a PDF of this tutorial from here: https://www.box.com/s/z77t7d08meyhsiu77m24
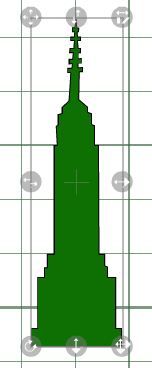
- Place your image on the mat
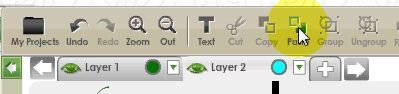
- Click the + button next to the Layer 1 tab.
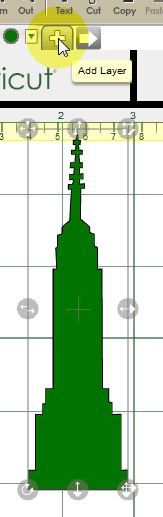
A new layer (Layer2) will be added to your project.
- Click on your first image to make sure it's selected then press the Copy button on the toolbar
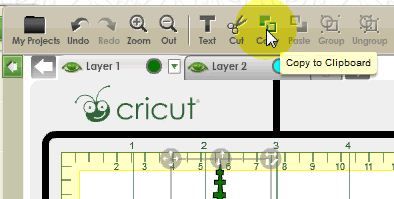
The image will be copied to the clipboard.
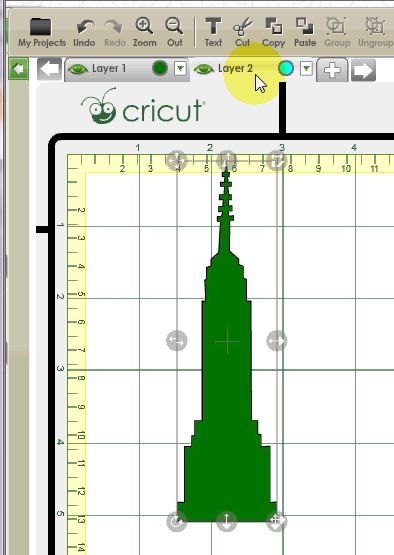
- Click on the tab for Layer2 to make it active. (It will turn light grey.)
- From the toolbar click the Paste button
The image will be pasted to Layer 2.
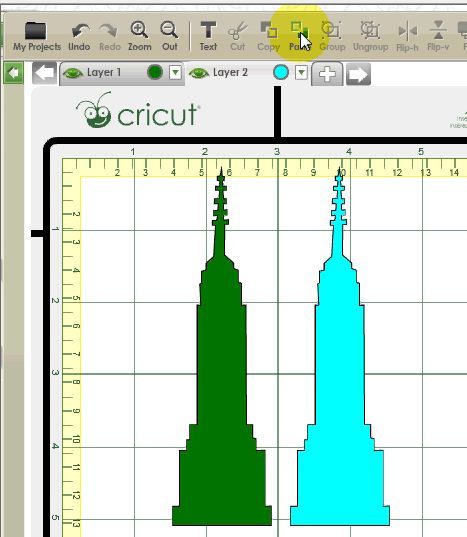
You can see that it worked because the pasted object is a different colour to the original and matches the coloured dot beside the layer name.
If you want to move your image from one layer to another instead of copying it, you can follow the instructions above and simply press the Cut button at instead of the Copy button.
Or....
You can follow the instructions above (Copy and Paste) then just go back and delete the image from the first layer after you have pasted it to the second layer.
Copying multiple images
You can use the same process to copy multiple objects. Just select them all before you click the Copy button. (There's no need to group them.) This even works for images that are on different mats!
Having problems getting it to work? Keep the following in mind....
- Before you select the Paste button ensure that the correct layer tab is active (light grey)
- Make sure the layer you are pasting to is visible. The eye next to your layer name should be green. (Like the picture above). If the eye is grey your layer is hidden and you won't see your pasted object. Click the eye to make the layer visible. Once you make the layer visible the pasted image should appear.
Got any questions? Just ask!!
For information on this process using CCR builds older than 167 click here: http://cricutcraftroomblog.blogspot.com.au/2012/04/copying-objects-to-new-layer.html


5 comments:
Thanks so much to both of you for all of the wonderful help.
D-
dragonfly50 Cricut MB
These tutorials are great. Will you set these apart in so we can find them without printing them all out. You have files listed as Craft room CCR and Cricut Craft Room. Where will we find these updated tutorials when we need them. Thank you so much for these tutorials and keeping them updated!!
Hi Judy. Glad you like the tutorials.
Currently, you'll find the tutorials in the Getting Started, The Basics and The Nitty Gritty menus at the top of the screen.
But..... as well as updating the tutorials I'm also creating a whole new blog. It will look totally different to this one and work slightly different. When it's ready to go live I'll post here! :)
I'll also (when I get a chance) add a link to a PDF of each tutorial. That way you can save it to your computer or just print it out. :)
A PDF file would be great!!!!
Thanks so much Narelle.
You ROCK!!!
D-
dragonfly50 (Cricut MB)
Your wish is my command! First one is done. Link at the top of this tutorial. :)
Narelle
Post a Comment